Welcome to another challenge over at Inspiration Destination, we would love you to join us and you can find the link here
Inspiration Destination
This week we have two fantastic sponsors Just Inklined and Little Blue Button Stamps.
My first DT make for this week is using an image from Little Blue Button Stamps.
Card recipe:
White cardstock from crafty stash
Blue co-ordination card
Tattered Lace Double Sided Stepper dies
Sheena Douglass Wild Rose dies
Faux gems
Sentiment from My Paper Stash
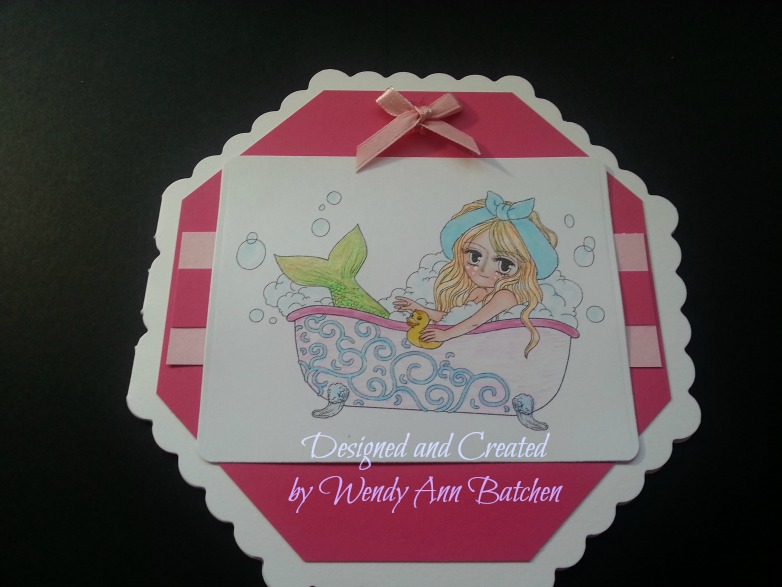
Little Blue Button Stamps
Dread girl digi image coloured with Copics and Prismacolor pencils
Do create this card I used the Double Sided Stepper dies, cutting in white and blue card.
I die cut the flowers in the same blue card and added a faux gem to the centre of each before adding to the panels on the left hand side of my card.
After colouring my image I fussy cut around her and added her to the right hand panel using foam tape.
Finally, I added the sentiment below my image.
My second DT make for this week is using an image from Just Inklined.
Card recipe:
White shaped card blank from crafty stash
Black cardstock from crafty stash
Tonic fancy oval dies
Sentiment from My Paper Stash
Faux flower gems
Just Inklined
Love Cats coloured with Pebeo Acrylics, Lyra Rembrandt Polycolor pencils and Spectrum Noir Sparkle Glitter pens
Drawing Gum by Sheena Douglass
To create this card I used a shaped card blank.
I then cut a piece of black card to add to the shaped card.
After printing my image I covered it with drawing gum so that I could work on the background using the Pebeo Acrylic paint. Once the background was dry I rubbed off the drawing gum to reveal my white image which I then coloured and die cut around before adding to my card using foam tape.
Finally, I added the sentiment on the left hand side to complete.
Thanks for visiting my blog today and I hope you like my DT makes for this week's challenge.